Page 1 / Page 2
Thursday 18th December
After one of these incidents, the second flight crash, I usually let things settle for a while before deciding on a course of action. The damage was surprisingly little, well, at least for a 100 ft vertical dive into the ground!
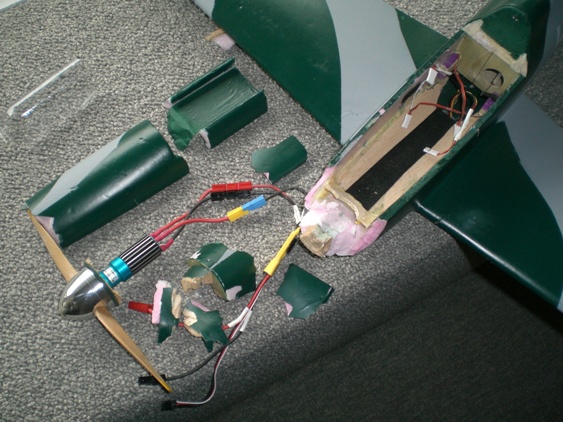
The nose crushed in the underside foam parts and the side foam parts broke rather cleanly. The motor mount ply part separated from its mating balsa nose parts and the cowling broke into three parts, rather cleanly thankfully. Indeed, most of these parts could be fitted back together mostly in alignment.
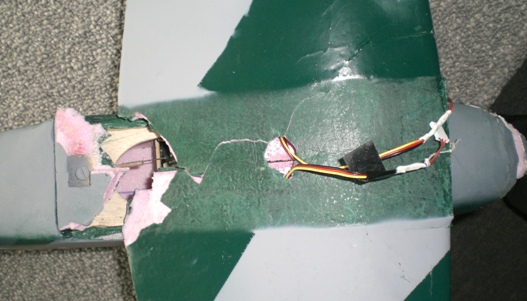
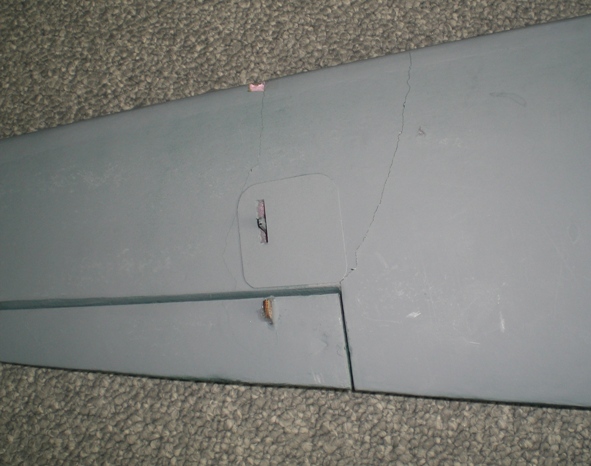
The wing mounting reinforced center section separated, allowing the wing to separate from the fuselage. The wing also suffered cracking both top and bottom in the foam "skins". All these parts fitted together well. The spars and center joiner seemed to remain intact. There are also creases in the wing skins a few inches outboard of center on both sides, but this is more of a bruise than a separation.
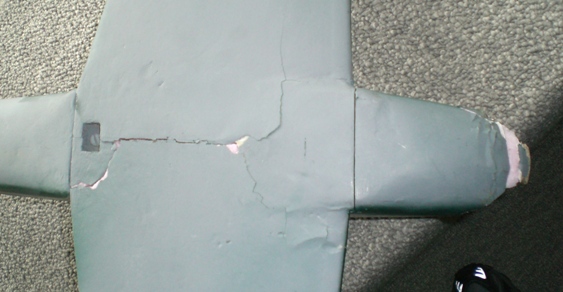
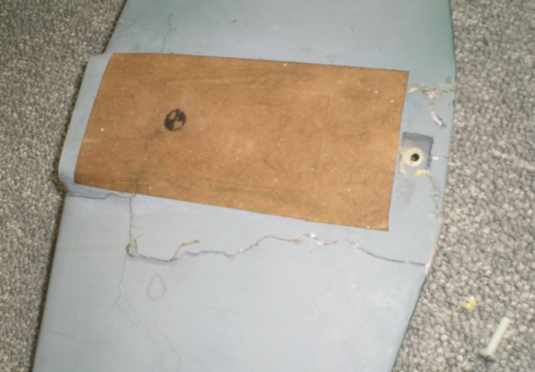
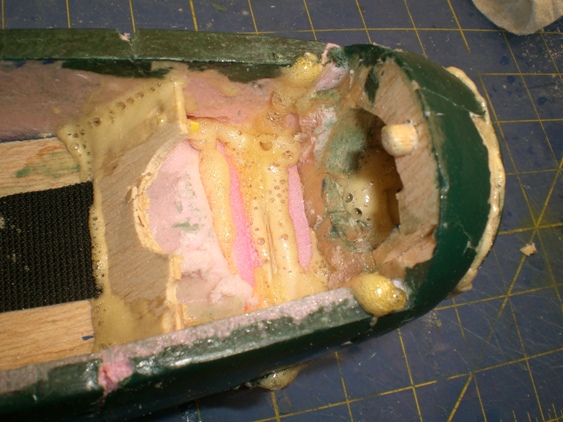
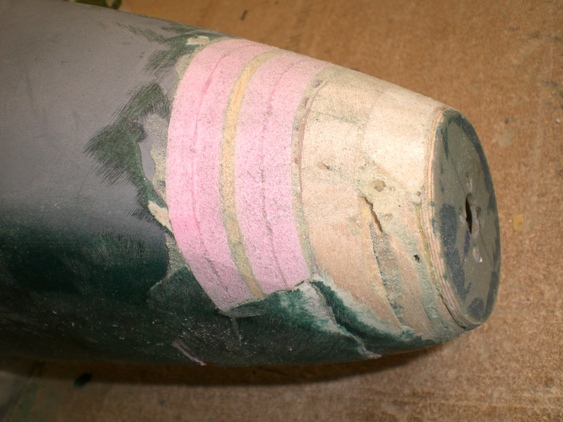
Here the hold down part is loosely fitted back in place but this shows the separation of the bottom skins at the center joint.
After a week of contemplation, well actually neglect, I began to fit the parts back and think about a fix.
I found that the wing cracks could be forced back into place with a pair of very long rubber bands from tip to tip. Now the next decisions involved the adhesives for these fixes. Clearly I must use foam safe adhesives and with these kinds of joints it is desirable to have a slow curing, gap filling adhesive. This slow cure makes the job tedious, as you glue a part then wait half a day or so before tackling the next part, but the results are better. The adhesive choices for me are epoxy, yellow wood glue and polyurethane glue (Gorilla or Elmer's Professional). The latter really does a good job on broken parts that are bruised or don't fit back well. The yellow and white wood glues also do an excellent job on foam except they air dry and so only work on joints that are close to the surface. If it is a deep thick part the glue in the middle never sets. On the wing I used polyurethane Then I added a brown paper doubler, wetted with water then glued in place with thinned white glue.
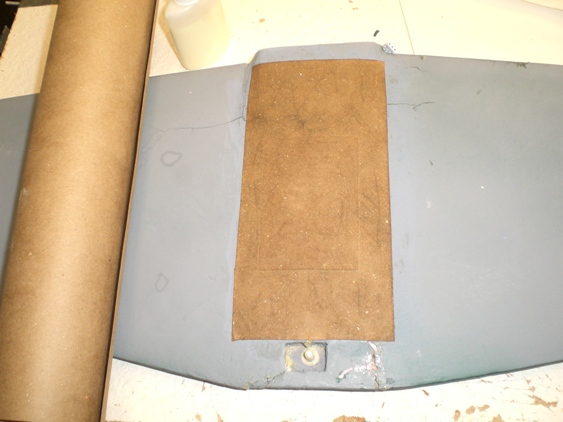
Note the smaller second layer in the middle.
Next I tackled the cowling as it fit together well, could be fitted to the upper fuselage and because it was located to the nose with a dowel it would locate the nose during the repair process. Here I used yellow glue and let it dry for a day or so before tacking the nose. Here are the surviving nose parts;
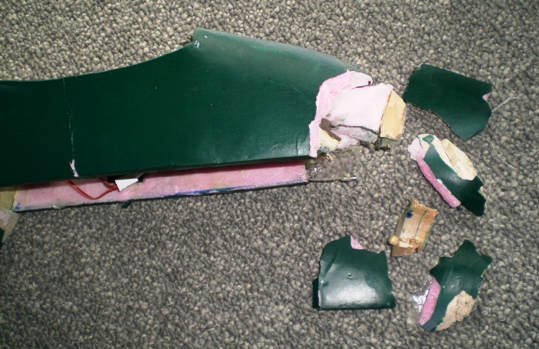
I began the nose repair by gluing the two side pieces in place then fitted the remaining nose pieces to them. This assembly was done with polyurethane glue and when set I made a new foam block to replace the crushed lower part. I also needed an additional balsa part for the noseblock as it was lost in the recovery process; always bring back ALL of the parts, you never know it they can be used or would help in aligning the other parts.
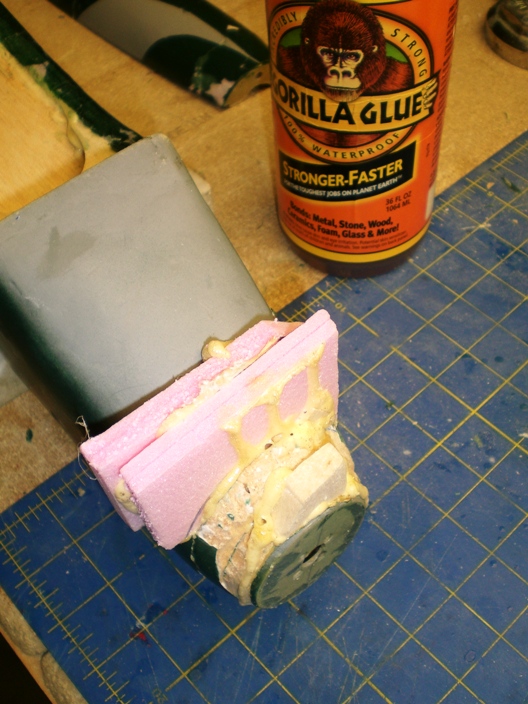
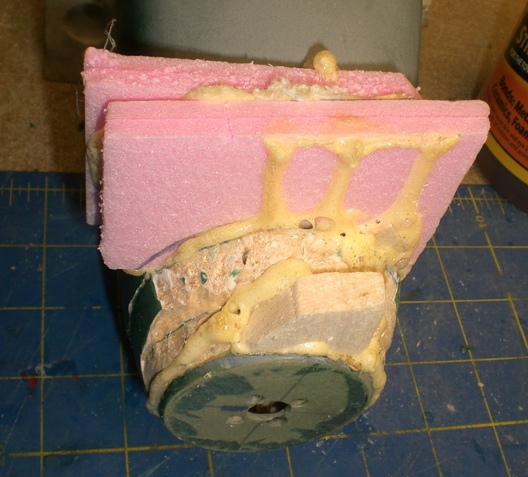
Here you can see that I made sure the glue would fill all the voids in both the joints and other cracks in the structure. This glue is messy to apply and messy in expanding beyond the repair, but it is fairly easy to clean up with a razor, saw or sanding.
Next I trimmed the repair parts and sanded them back to shape;
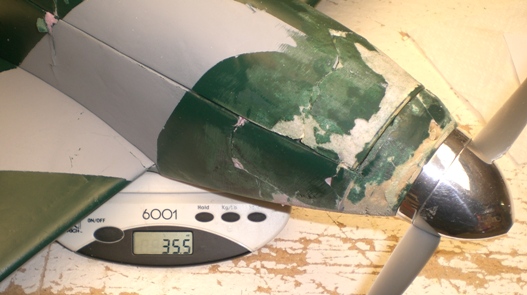
I will refinish these repairs but what with the flight problems I think I will do like the big airplane guys; fly it without finish.
Back on the scales after the fix it is up to 35.5 ounces.
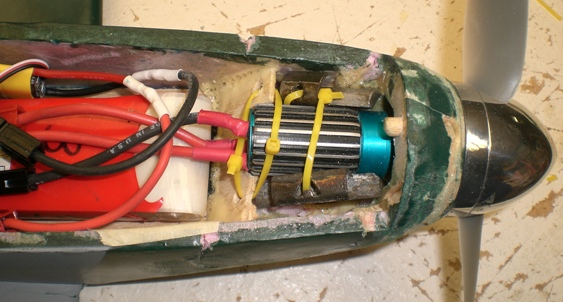
I also checked the CG and found it to be right on the wing CP! Probably not a good place with this small tail. I haven't done the stability calculations but it didn't seem tail heavy in either flight, nevertheless, it is probably a good idea to add a bit of nose weight for a bit more stability. So I lashed two small wheel weights to the motor.
Now let's see if I can fly this thing again. It is cold but calm today, maybe I should try it.
Try again we did, after club breakfast in Chester Park. Conditions; 26 degrees F , light winds and sunny.
A short and squirelly flight, still either unstable in roll or uncontrollable by the pilot; me.
This time I reduced the aileron throw and added a good deal of negative exponential, but I still induced "PIO"; Pilot Induced Oscillation. It may be controllable by an experienced pilot but since this is my trainer I need to make it more stable.
First to see if it can be fixed..... Of course it can.
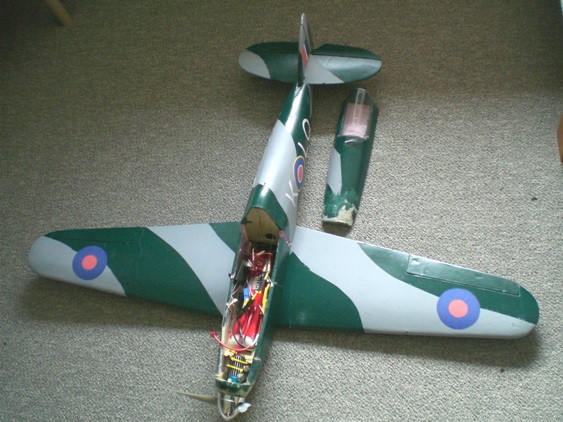
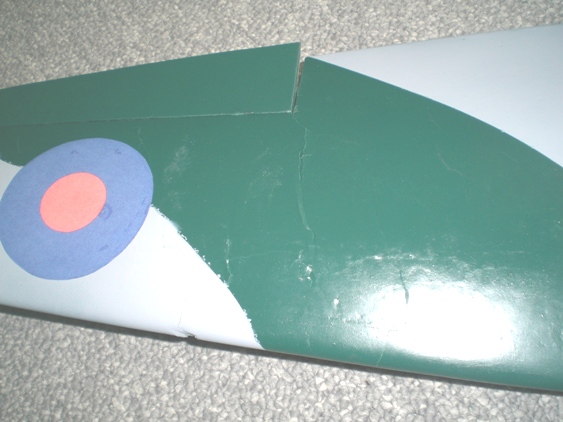
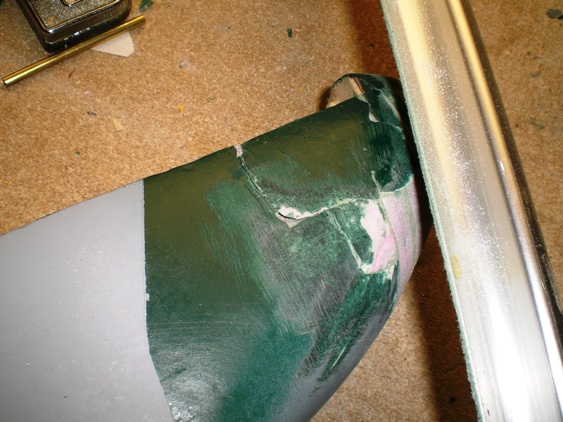
The impact was at a shallow angle but left wing low, so I think the tip contacted first, the left wing and laterally loading the aft wing mounting screw. This caused the fuselage to separate at the aft end of the cowl, a logical stress raiser due to the instant change in fuselage structure at this point.
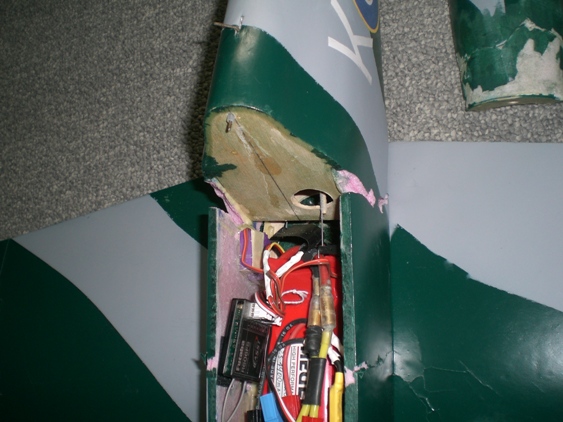

This will be very easilly fixed as it is a clean break with no part distortion. I will just glue it back together.
The wing is damaged at the left hand root and left hand outboard stations.